
Printable Flash Cards: Make and Print Your Own
By Mark Fulton · 2026-09-16 · 13 min read
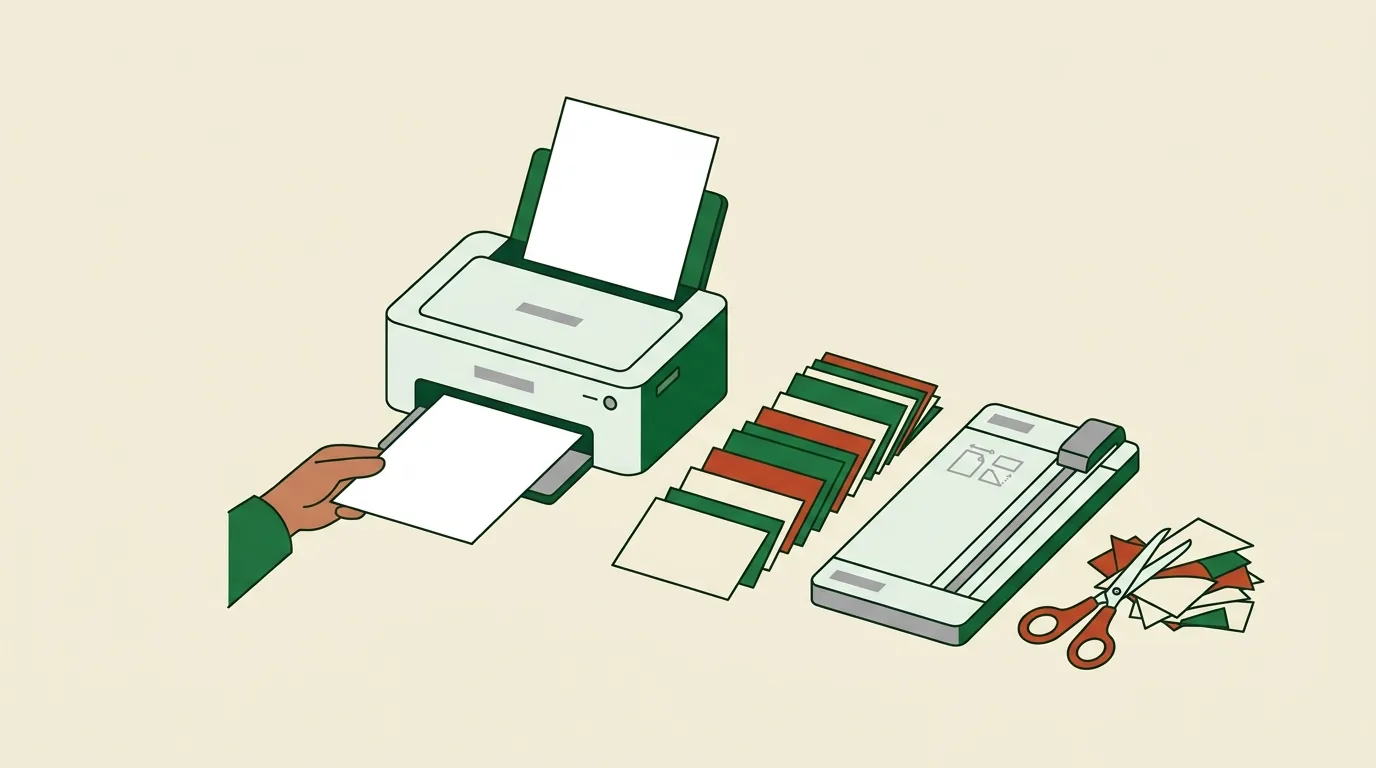
To print your own flash cards, pick a card size that divides cleanly into your sheet (2.5 x 3.5 in gives you 9 per US Letter page, 65 x 90 mm gives you 9 per A4), print on 65 lb cover stock or heavier if you want the cards to survive shuffling, and get the duplex setting right: a portrait card grid needs "flip on long edge" with the columns reversed on every back page, while a landscape grid needs "flip on short edge" with the rows reversed. Turn off "fit to page" before you print anything, and run one test sheet before you commit a stack of card stock. If your printer cannot auto-duplex heavy paper, print the fronts, reload, and print the backs as a second pass.
Almost every printable flash card page hands you a template and wishes you luck. The template is not where this goes wrong. It goes wrong at the printer, where the backs come out upside down, the cut lines drift a few millimetres per row, and the third sheet jams because 199 gsm card stock will not bend around a duplexer. Here is the mechanical part, with the measurements.
When are printed cards worth it over digital?
Paper cards win in three specific situations, and it is worth being honest that those are the only three.
The first is an exam room or a classroom where phones are banned. A stack of cards works when a screen is not allowed in the building.
The second is a shared deck. Two people cannot review one phone. Four kids at a kitchen table can pass a stack around, and a printed deck is the only format that handles that without four devices.
The third is a small, fixed set of facts you want physically present: the twelve cranial nerves taped above a desk, forty Spanish verbs in a coat pocket, the multiplication facts a seven-year-old keeps missing. Small and fixed is the key. Paper has no memory of what you got wrong.
That last point is the real trade. Retrieval practice, the act of pulling an answer out of your head rather than re-reading it, is what makes cards work at all, and Carnegie Mellon's Eberly Center summary of the research notes that generating an answer beats recognising one. A paper card is excellent at forcing generation. It is terrible at scheduling, because a physical stack cannot count how many times you failed card 43. Past a couple of hundred cards you end up rebuilding the scheduling by hand, which is what the Leitner system is: a box of dividers standing in for the software. We wrote a longer comparison of where each format earns its place in digital vs paper flash cards.
So print a deck when it is small, shared, or going somewhere a screen cannot. Keep the big ones digital.
What card size and paper weight actually work?
Start with the sheet, not the card. Most consumer printers cannot print to the paper edge, and the usual unprintable margin is about 0.25 in (roughly 6.5 mm) on each side. That leaves a safe printable area of about 8 x 10.5 in on US Letter (8.5 x 11 in) and about 197 x 284 mm on A4 (210 x 297 mm). Every grid below is worked out inside that safe area, so you can check the arithmetic yourself.
US Letter, 8 x 10.5 in printable:
| Card size | Grid | Cards per sheet | Suits |
|---|---|---|---|
| 2 x 3.5 in (business card) | 2 across x 5 down | 10 | single words, vocabulary |
| 2.5 x 3.5 in (playing card) | 3 across x 3 down | 9 | vocabulary, formulas, dates |
| 3 x 5 in (index card) | 2 across x 2 down | 4 | definitions, worked steps |
| 4 x 5.25 in (fold to 4 x 2.625) | 2 across x 2 down | 4 folded cards | no-duplex fold method |
| 4 x 6 in (large index) | 2 across x 1 down | 2 | diagrams, long answers |
A4, 197 x 284 mm printable:
| Card size | Grid | Cards per sheet | Suits |
|---|---|---|---|
| 65 x 90 mm | 3 across x 3 down | 9 | vocabulary, formulas |
| 74 x 105 mm (A7) | 2 across x 2 down | 4 | definitions |
| 148 x 105 mm (A6, landscape) | 1 across x 2 down | 2 | diagrams, long answers |
A7 nests eight-up on a full A4 sheet in pure geometry, but that layout needs the full 210 x 297 mm with no margin at all. Unless your printer does genuine borderless printing, plan for four and stop being annoyed about it.
Paper weight is the other half, and the units are confusing on purpose. A pound rating is the weight of 500 sheets at that paper grade's own basic size, and the basic sizes differ by grade: bond is 17 x 22 in, cover is 20 x 26 in, and index is 25.5 x 30.5 in, as the paper trade defines them. That is why 65 lb cover is much thicker than 110 lb bond, which sounds backwards until you know the sheets being weighed are different sizes. Grams per square metre sidesteps the whole problem.
| Stock | gsm | Use for |
|---|---|---|
| 20 lb bond (standard copy paper) | 75 | fold-method cards only |
| 24 lb bond | 90 | fold method, slightly stiffer |
| 65 lb cover | 176 | cut cards, the practical minimum |
| 80 lb cover | 216 | cut cards that get shuffled daily |
| 110 lb index | 199 | cut cards, stiffer feel, cheaper than cover |
Below about 176 gsm a cut card bends in a pocket and stops shuffling properly after a week. Above about 216 gsm, check your printer's spec before buying a ream: many home printers feed heavy stock only from the rear or manual tray, and many will not auto-duplex it at all.
How do you print double-sided without misaligned backs?
This is where the stack of card stock gets wasted. Work through it in order.
1. Set the scale to 100 percent. In the print dialog, find "Scale" or "Page Sizing" and choose Actual Size or 100%. Turn off "Fit to page", "Shrink oversized pages", and "Auto-rotate and centre". Auto-scaling is the single most common cause of drift, because the front and back can be nudged by slightly different amounts and a 1 percent difference is about 2 mm across a Letter sheet.
2. Match the paper size in three places. The document, the printer driver, and the tray must all say Letter, or all say A4. A Letter-sized layout sent to an A4 tray with scaling enabled will shift every cut line.
3. Pick the binding edge from the grid's orientation. Purdue's IT documentation gives the general rule cleanly: portrait documents flip on the long edge, landscape documents flip on the short edge. For card grids the consequence is what matters. Flipping on the long edge turns the sheet like a book page, so the columns mirror left to right and the rows stay put: on a three-column grid, column 1 on the front lands under column 3 on the back. Flipping on the short edge turns the sheet like a notepad, so the rows mirror top to bottom instead.
4. Reverse the right axis on the back page. Long-edge flip means every back page needs its columns in reverse order. Short-edge flip means the rows go in reverse order. Get this wrong and every card shows someone else's answer, which is harder to spot than an upside-down back and wastes more paper.
5. Run the marked-corner test. Take one plain sheet, write FRONT TOP LEFT in the top-left corner in pen, and feed it in. Print page 1. Look at where the print landed relative to your mark: that tells you whether the printer images face-up or face-down, and which end it pulls first. Feed the same sheet back in and print page 2. You now know the exact reload orientation for that specific machine. Write it on a sticky note and leave it on the printer, because it never changes and you will otherwise re-derive it every semester.
6. If the duplexer refuses heavy stock, go manual. Print all the odd pages, take the stack out without reordering it, reload using the orientation you just established, and print the even pages. Manual duplex on card stock is more reliable than an auto-duplexer forcing 199 gsm around a curve, and it is the only option on most home printers above roughly 105 to 120 gsm.
7. Use thin cut lines and a quiet zone. A 0.25 pt grey line, or small crop marks at the corners, cuts as well as a heavy black border and hides your mistakes instead of advertising them. Leave 3 to 4 mm of empty space inside the cut line so a small drift trims whitespace rather than a word.
8. Test one sheet, then print the rest. One sheet of plain paper, both sides, held up to a window. If the fronts and backs line up through the paper, commit the card stock.
Fold or cut: which holds up better?
The fold method prints the front and the back side by side on one side of the sheet and folds along the centre line, which removes the duplex problem entirely. That is genuinely useful, and it is why the method has survived on the older printable card sites for two decades.
Fold wins when the deck is small and short-lived. Folded 20 lb copy paper behaves roughly like 150 gsm card because it is two layers thick, so you get usable stiffness from the paper already in your printer, with no card stock purchase and no alignment risk. The costs: the deck is twice as thick in the hand, the folds work open after a few weeks, and a folded stack does not shuffle cleanly.
Cut wins for anything you will use past a month. Single-thickness card at 176 gsm or heavier shuffles properly, stacks tightly, and survives a semester in a bag. The cost is that you have to solve duplex, and you need a straight cut.
A working rule: under about 40 cards and under about a month, fold. Anything larger or longer-lived, cut on 65 lb cover or heavier.
For the cutting itself, a rotary trimmer or a guillotine is worth the small cost if you will print more than one deck. A steel ruler and a craft knife on a cutting mat is the next best thing. Scissors drift by a millimetre or two per cut and the error accumulates across a nine-card grid. Round the corners with a punch if you have one, because square corners dog-ear first and a dog-eared card is a card you can identify without reading it, which quietly wrecks the test.
How do you build the deck before you print it?
Printing is the last step, not the first. A printed card is expensive to change: you cannot edit it, you reprint the sheet. So settle the contents on screen first.
Build the deck in the QuestionCard builder and run it for a few sessions. Watch which cards you never get wrong, and cut them. Watch which cards you fail over and over, and suspect the card rather than yourself: a card that keeps failing is usually two facts wearing one coat, and splitting it fixes it. Our guide on making flash cards that stick covers the rewrite patterns in detail. Cards that survive that pass are the ones worth spending card stock on.
There is a reason to do the screen sessions anyway rather than just as an editing pass. The medical education literature summarising effective study, including this review on testing yourself and repeating in intervals, points in the same direction: spaced self-testing beats massed re-reading. The screen sessions are not wasted setup. They are the first few repetitions.
Two honest notes on our own tool. The free builder tier is one deck of up to 20 cards, and custom decks live in your browser's local storage only, so nothing reaches our servers and clearing site data clears your decks. Export gives you a JSON file of your own deck, which is a backup, not an import path into another app. QuestionCard Plus adds unlimited builder decks and a print-friendly export, which prints a deck as a clean numbered sheet with the answers included. That is a study sheet and a classroom handout, and it is the right thing for a lot of uses. It is not a pre-imposed duplex card grid, so if you want a cut-and-shuffle physical deck you will still lay the grid out yourself using the sizes above.
How do you store and carry a printed deck?
A rubber band is fine for a week and then it cuts into the top card. Three things work better.
A hole punch through one corner and a small binder ring keeps the deck in order, lets you fan through it one-handed, and means nothing falls out in a bag. The drawback is you cannot shuffle, which matters: reviewing a deck in a fixed order lets you memorise the order instead of the content. If you go with the ring, take the deck off it for every third session and shuffle.
A small box is the better option for anything past about 60 cards. Standard 3 x 5 in index card boxes are cheap and let you run divider-based scheduling, moving each card forward or back a divider depending on whether you got it right.
A zip bag or a rubber-banded stack in a coat pocket is fine for the 20-card decks you actually carry, provided you printed on 176 gsm or heavier. Thinner cards curl to the shape of your pocket in about three days.
Label the deck. Write the subject and the date on card one. Six weeks later you will have three stacks and no idea which is the current one.
FAQ
How do you print double-sided flash cards?
Set the print scale to 100 percent, match the paper size in the document, the driver, and the tray, then choose the binding edge from your grid's orientation: long edge for a portrait card grid, short edge for a landscape one. Reverse the columns on the back page for a long-edge flip, or the rows for a short-edge flip. Run one test sheet on plain paper and hold it to a window to check alignment before you print the rest. If your printer cannot auto-duplex card stock, print all the fronts, reload the stack, and print the backs as a second pass.
What paper is best for flash cards?
For cards you cut, 65 lb cover (176 gsm) is the practical minimum and 80 lb cover (216 gsm) is better if the deck gets shuffled daily. 110 lb index (199 gsm) is a stiffer, usually cheaper alternative. For the fold method, standard 20 lb bond (75 gsm) copy paper is fine, because folding doubles the thickness. Check your printer's maximum paper weight before buying, and expect to feed anything above roughly 120 gsm from the rear or manual tray rather than the main cassette.
What size should a flash card be?
3 x 5 in (76 x 127 mm) is the classic index card size and the right choice for definitions and worked steps, at four per Letter sheet. For single words and vocabulary, 2.5 x 3.5 in (playing card size) fits nine to a Letter sheet and stacks better in a pocket. On A4, 65 x 90 mm gives you the same nine-up density, and A7 at 74 x 105 mm gives you four. Go up to 4 x 6 in only when the answer is a diagram or a paragraph.
Can you print flash cards from your phone?
You can, over AirPrint or Mopria, but phone print dialogs usually hide the two settings that matter most: exact scale and duplex binding edge. If you print from a phone, expect single-sided output and use the fold method, where the front and back sit side by side on one side of the sheet. For double-sided cut cards, print from a computer where you can reach the scale and binding controls, or generate the file on your phone and send it to a desktop to print.